


 http://brokenboxstock.blogspot.com/
 and here's the URL in case that doesn't work
 This was a fun brayering job, All Hallows Eve.
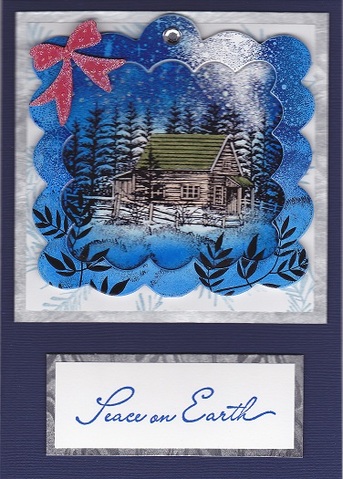
 This one and the next used Stampin Up Cool Cat


 Our daughter is having major back surgery today. So we are showering her with a card a day for a couple weeks. You may remember when we did this for my dear friend Jean when she had surgery a few years ago. Her cards are posted pretty far back on my blog but you can find them all at once by clicking on Get Well in the catagory column. Anyway, we've sent some of those same card, just personalized them or updated them a little, whatever they needed. Todays card did not scan worth beans, but hopefully you can get a good enough picture of what's going on. This is an adorable girl Doctor, by Mo Manning, about to give her bear a shot. I hope you can read the text - you for sure have to watch out for those Side Effects. Thanks for stopping by, I always enjoy your visit!

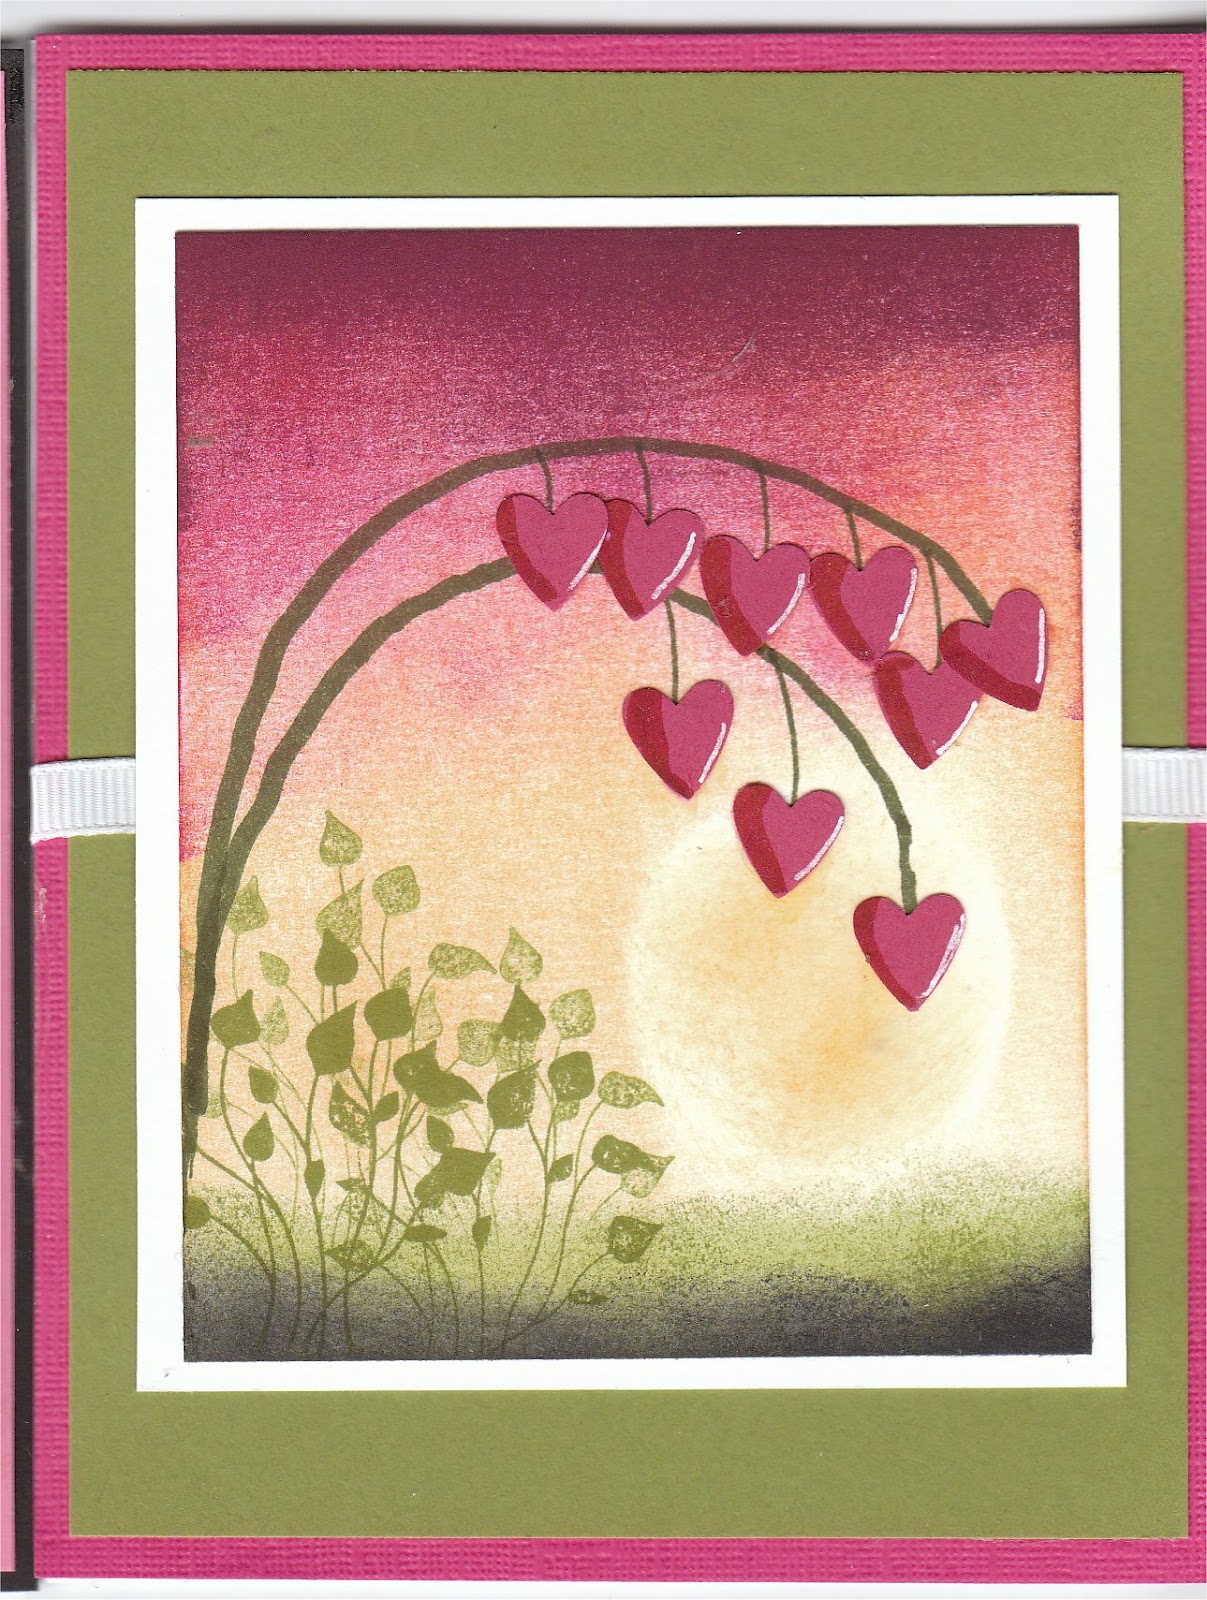
 My special card-making friend, KellyRae, came over Saturday and we had a ball 'playing'. Our first creation was a CASE of the fantastic Michelle Zindorf new card. Michelle makes lovely oversized cards, very often square. Cheapies that we are, we try to keep everything standard 4.25 x 5.5. Actually KellyRae sends so many hundreds of cards to our soldiers, that standard size is a major consideration. We used a page from a book and 'aged' it with sponges and direct stamp pads. We used the SU Cupcake punch and 2 oval punches (for the plate). KellyRae brought the Sweet letters that she had cut from her new Cricut. We 'cornered' the card with matching (almost) ribbon and I put my 'fake brads' on mine. What fun we had copying this - especially since almost everything on it is 'changed' from the original :)

 My grandson has a birthday this month and I can't be there (MI), but I will be there in June - can hardly wait. This was such a fun card to make with all the special papers and parts. 3 baseballs were Punched out, covered with Crystal Lacquer to make them stand out and be shiny. Same with the glove that had been colored with Copics. Don't think it shows too much in the photo but the shirt, hat, and skin, even the bat, are pretty well shaded and blended if I do say so myself. I'm even happy with the shading on the white pants and the creation of grass and ground. Know he just rips it open looking for the $$$, but I have fun anyway. It's great to make a labor of love for somebody special. Thanks for stopping by.
 This scene was taken from a piece of scrapbook paper. The window was sponged with Caramel and popped up on the wallpaper background with dimensionals. That's it - easy peasy.
 A couple of bright red cardinals in the white birch trees, with a soft snow sky behind. A smidgeon of Caramel sponged on the window which was then highlighted with the lightest greys. Acetate made window panes and then it was placed flat against the wallpaper background.
 My dream was always to live on the water - a tropical island would do very find thank you! This looks out from the North side of the house. So peaceful looking at the Palm Trees on the nearby island. The window was sponged in Caramel and has acetate panes, placed flat against the wallpaper background.
 Looking the other direction, at night, we have a totally difference scenescape creation. Nothing beats the sound of waves gently lapping the shore.
 There are slight differences between these two windows. They are cut with the PoppyStamps Grand Madison Die and are shaded lightly with Copics C1, C0, & 0. There are no window panes, and the windows are popped up using Dimensionals. This allows the vase of flowers on the table, just below the window sill, to move freely and provides good depth.
 The fence and curtains are done with Martha Stewart punches. Notice the slight difference in the curtain patterns. The garden foliage is again using the MS Pine Branch punch - this time cutting them into smaller pieces to create the garden.
 Windows in two different rooms give you very different scenes to look at. Both are on fairly dark, rich, wallpaper. This window scenescape was done in fall and shows the deer down by the water. The window is sponged lightly with Caramel, while acetate makes the window panes for this one.
 The one in winter is off deer grazing in the yard, fairly close to the house. The scene is colored with Copics, and the window has soft subtle CO, C1, & O Copics to accentuate the markings on the window itself. Again with Crystal Lacquer for the window panes. This window has a pine sprig on top, made using a Martha Stewart Pine Branch Punch. The Berries are made using the 1/16th" hole punch. So tiny they are hard to work with.
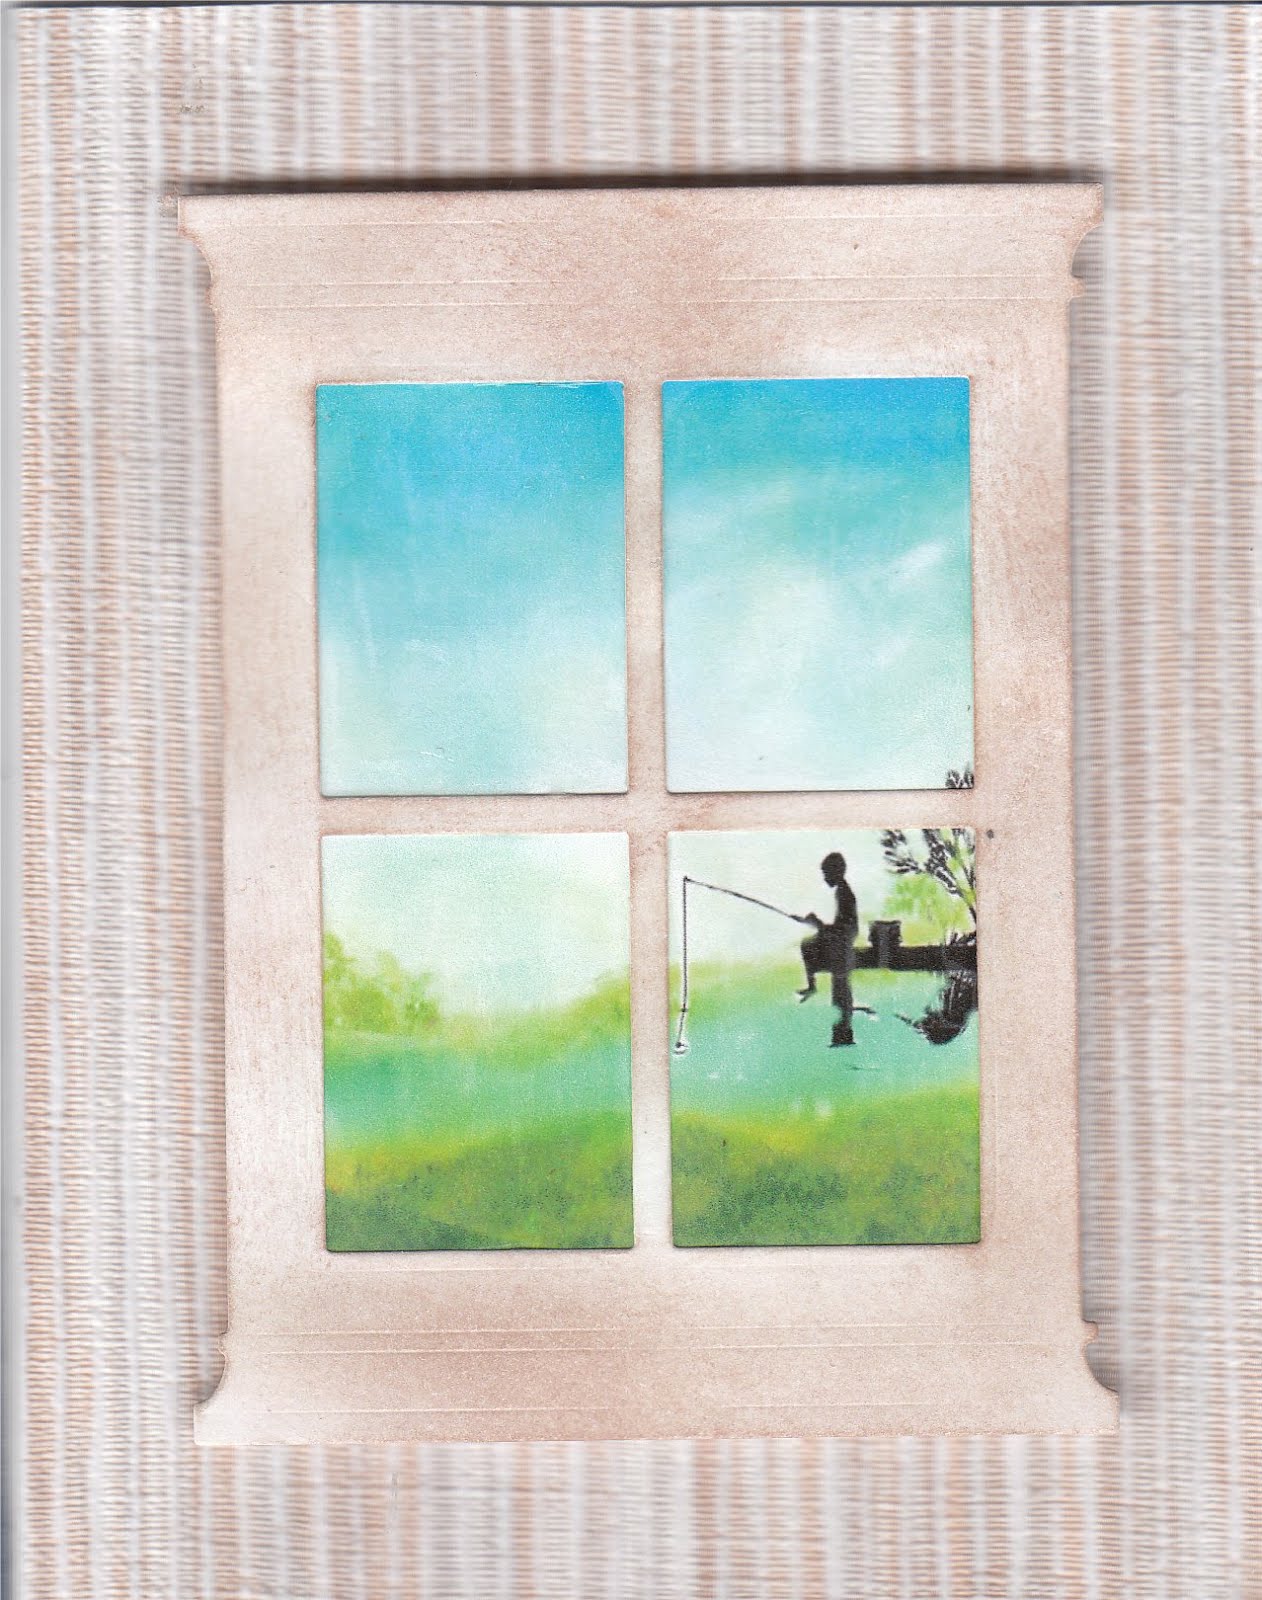 In my dreams, this is my grandson fishing on the dock in our yard. The window was sponged lightly with Caramel and popped up on the wallpaper background with dimensionals. Crystal Lacquer smeared across the image with my finger made the window panes.
 In between all the cupcakes, our granddaughter had a birthday and I had a ball with these cute little monsters. One thing is for sure, I have to shop for some more Crystal Lacquer! It is on the images, the cake, balloons, etc. They were all colored with Copics and a Copic Gold Glitter Pen was used on the floating stars. If it sounds like I have a lot of supplies.....well.....
 Cupcake background paper. Image colored with Copics and popped up with dimensionals. The inside simply says "and then I woke up"
 Birthday Anya colored with chalks and layered onto a "Hey Cupcake" background. As with the others, bling colored red for the Cherry, Crystal Lacquer on the cupcake and her hairpiece.
 Another card where the background paper is loaded with soft, subtle glittering. Her skirt is Paper Pieced. Crystal Lacquer used on the cupcake, her flower and headwear. The "Cherry on Top" is a large Bling, colored Red with Copics
 Too bad this doesn't scan well. Think it's my favorite of all the cupcakes. The corners are rounded. Lots of Crystal Lacquer used. The butterfly is a Martha Stewart Punch. It had two butterflies punched and layered one on top of the other so that the top wings stand out, or, flutter free. The base paper has subtle glittering on the blue dots and speckles. Really a striking card.

